- Comics
-
Green Blog
Our Top Bloggers
Blogs By Topics


Renew Floors & Countertops With Paint

At our last ladies’ night, Jane surprised everyone by insisting that the next get together be at her house. “I have something I can’t wait to show you all,” she exclaimed excitedly. Try as we might, we couldn’t drag it out of her what the big secret was.
Since then, I think everyone has been anticipating ladies’ night even more than usual. So when last night rolled around, we were all eagerly coming up Jane’s walk promptly at 7:00 pm.
“I wanted to show you my new matching floors and countertops,” Jane said proudly, sweeping us into her kitchen with a flourishing arm. I had to admit, it was stunning. Jane’s old lino floor was white with black triangles and her previous countertop was a grey speckled arborite. Now her floors and countertops matched with a mottled beige and brown. None of us had seen any of the usual construction materials coming in or out so we were baffled. When and how did she get in new countertops and flooring?.jpg)
.jpg)
“I painted my old ones!” she finally blurted out. Well, you couldn’t have seen a more flabbergasted bunch of ladies. The effect was gorgeous, and we all know the difference in price between paint and replacing.
 “I really had to do something, I just hated the colour scheme,” Jane said. “But I couldn’t justify replacing counters and flooring that was still in fairly reasonable shape, so I got the idea to paint it instead, and I LOVE the effect.”
Having seen first hand how great it looks, we spent the rest of the evening talking about how Jane did it. I wouldn’t be surprised if a couple of other ladies do some “renovating” in the near future.
She said it took a week to do because for every coat you have to let it dry for 24 hours.
She also said that even though she could walk on the floor within a couple of hours, she only wore socks for several weeks as to not damage the new floor until it could properly harden and cure. She also said that they did not put any furniture on the floor for a week after it was all done.
Here are Jane’s instructions on how she refurbished her kitchen floor and countertops.
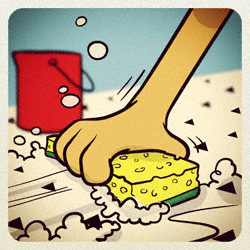
First wash the surface thoroughly and let dry.
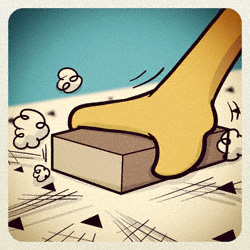
Sand lightly so that the paint will adhere well to the surface.
Rewash to make sure that all the dust is gone.
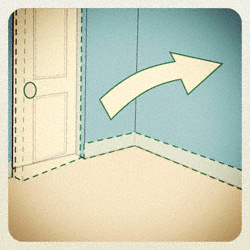
If you’re painting a floor, take off your doors and baseboards.
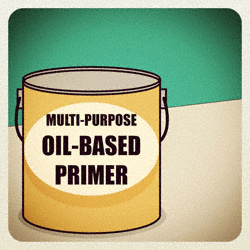
Prime the surface with a primer. Oil-based primer is much better than water-based primer as your finished job will last longer.
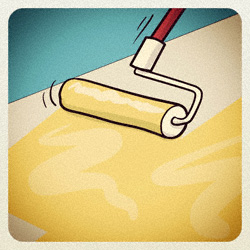
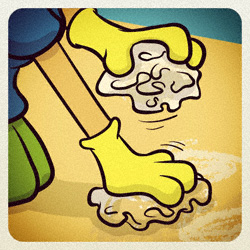 Paint on your base colour of paint. After it dries, you can do lots of different things to make patterns. You can tape off the surface to make geometric patterns, or use a sponge, or swirl two rags dipped in different colours to get a marble effect like Jane did.
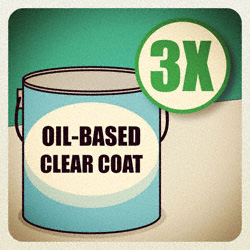

Let that dry thoroughly then paint your surface with at least 3 layers of an oil-based clear coat, and then again with at least 3 coats of varnish to give it a nice shine and to protect the new paint. Jane said she let it dry for 24 hours between every coat which is why it took over a week to finish.
Blog Category:
RRR
Blog Group:
DIY
Green Ideas